Most home theater systems get bought for movie night and then spend their evenings playing music through a TV app that sounds like a phone speaker in a coffee can. The receiver and the speakers are sitting right there, capable of far better, and the signal never reaches them. A home theater music streaming setup fixes that with one small box and about twenty minutes of menu work.
I have been installing this gear since 2019, roughly 340 installs, and the question I get more than any other is some version of "how do I get my music to sound as good as my movies?" The answer is almost never a new receiver. It is to stop routing music through the television.
The two pieces below are what I use for this job: a receiver and speaker package that gives you real inputs and real amplification, and a streamer small enough to hide behind the console. Everything after that is wiring and settings, and the settings are where most people quit too early.
Why you should trust me
I spent my first eight years on a big-box install crew, pulling wire through Austin attics in August, and I have been independent since 2019. Every install I do gets swept with a miniDSP UMIK-1 measurement mic in Room EQ Wizard, and every projector gets a calibration pass with an X-Rite i1Display Pro. I have kept a calibration spreadsheet since 2016 with more than 400 logged measurements.
That habit matters here because streaming music is where a lot of otherwise good systems fall apart. People blame the speakers. Usually it is the source, the input, or a DSP mode that was designed for explosions. My rule is simple: if I would not run it in my own living room, tile floor, ceiling fan hum and all, I will not tell you to run it in yours.
How I picked and how I tested
This is a two-part job, so I looked for two things.
For the receiver and speakers, I care about input count first. You need HDMI for the TV, an optical jack free for a streamer, and at least one analog input for a turntable or a spare source. I check whether the receiver's room correction is worth running, whether the network features live inside the receiver or hang off a dongle, and whether the speakers are honest enough that a music signal survives them.
For the streamer, the checklist is shorter and less forgiving. AirPlay 2 support, a real digital output, hi-res file support, an app that does not need a firmware update every week, and fixed volume output so the receiver's volume knob stays the only one that matters.
I buy this stuff at retail and return what does not work, which means I do not owe anybody a good review. When a box arrives, I check the inputs I actually use, not the ones on the spec sheet, and I run room correction before I pass judgment on anything.
The two pieces that do the work
You can do this with one piece if your receiver already has network streaming built in. You can also do it with three or four pieces and a lot of money. For most living rooms, two is the number.
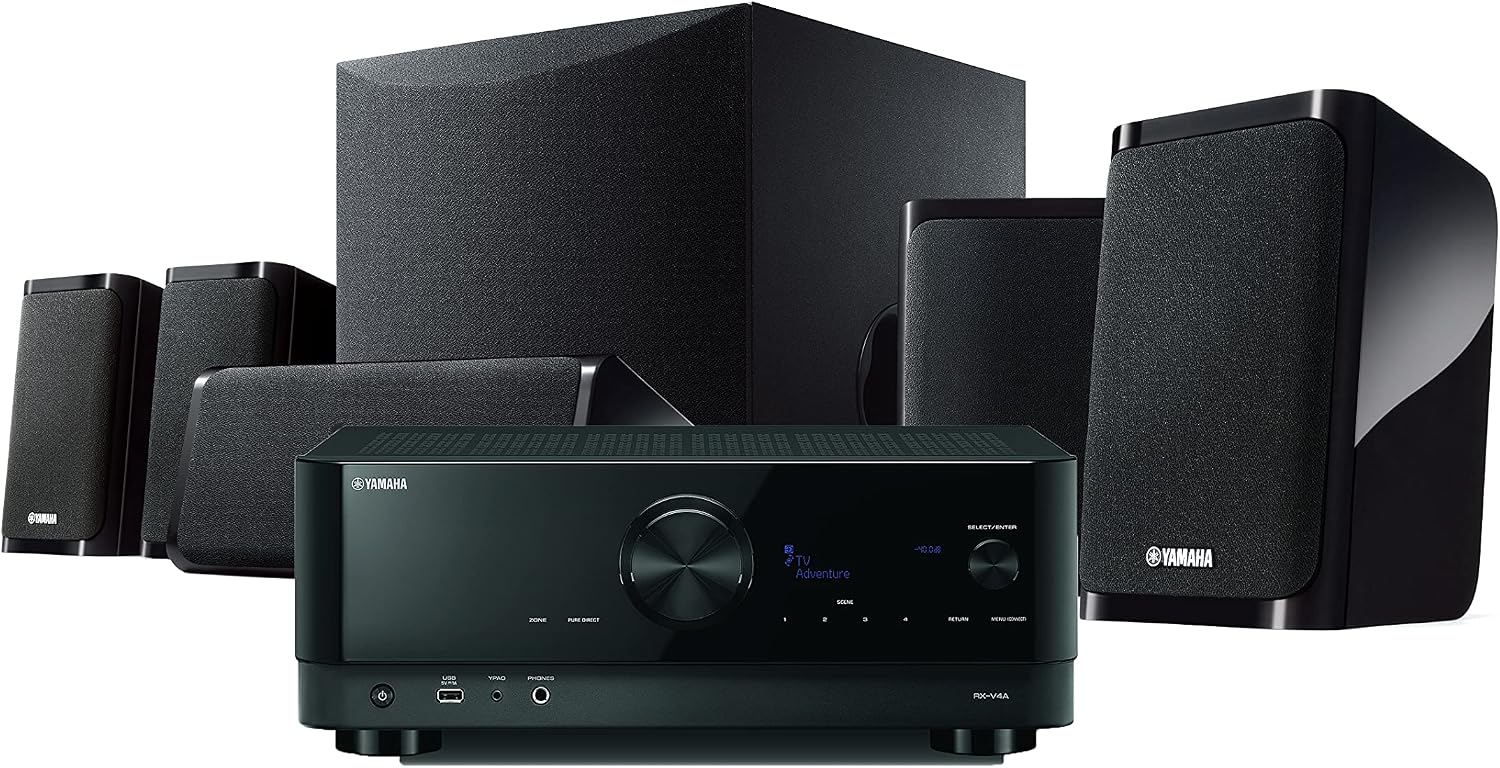
The anchor: Yamaha YHT-5960U Home Theater System with 8K HDMI and MusicCast
 Visit on Amazon →
This is a receiver plus a 5.1 speaker package, and the receiver is the part that earns its keep in this guide. It has the HDMI switching for your TV and your sources, it has spare digital and analog inputs for a streamer, and MusicCast is built into the box, which means the receiver is already a network endpoint on your Wi-Fi. That covers a lot of the streaming job before you plug anything else in.
The speakers are the other half. I will say the thing I say to clients even when it costs me the soundbar sale: real speakers, even modest ones, beat a bar for music. A soundbar is a compromise shaped like a shelf. A pair of bookshelf speakers with a subwoofer behind them moves air in a way no bar can, and music is where you notice it most.
What to watch for: this package wants speaker wire run to the rears, so measure before you commit. It also wants a receiver shelf with airflow, not a closed cabinet. If you are in a small apartment with no way to run wire, this is not the answer, and no amount of DSP will make it one.
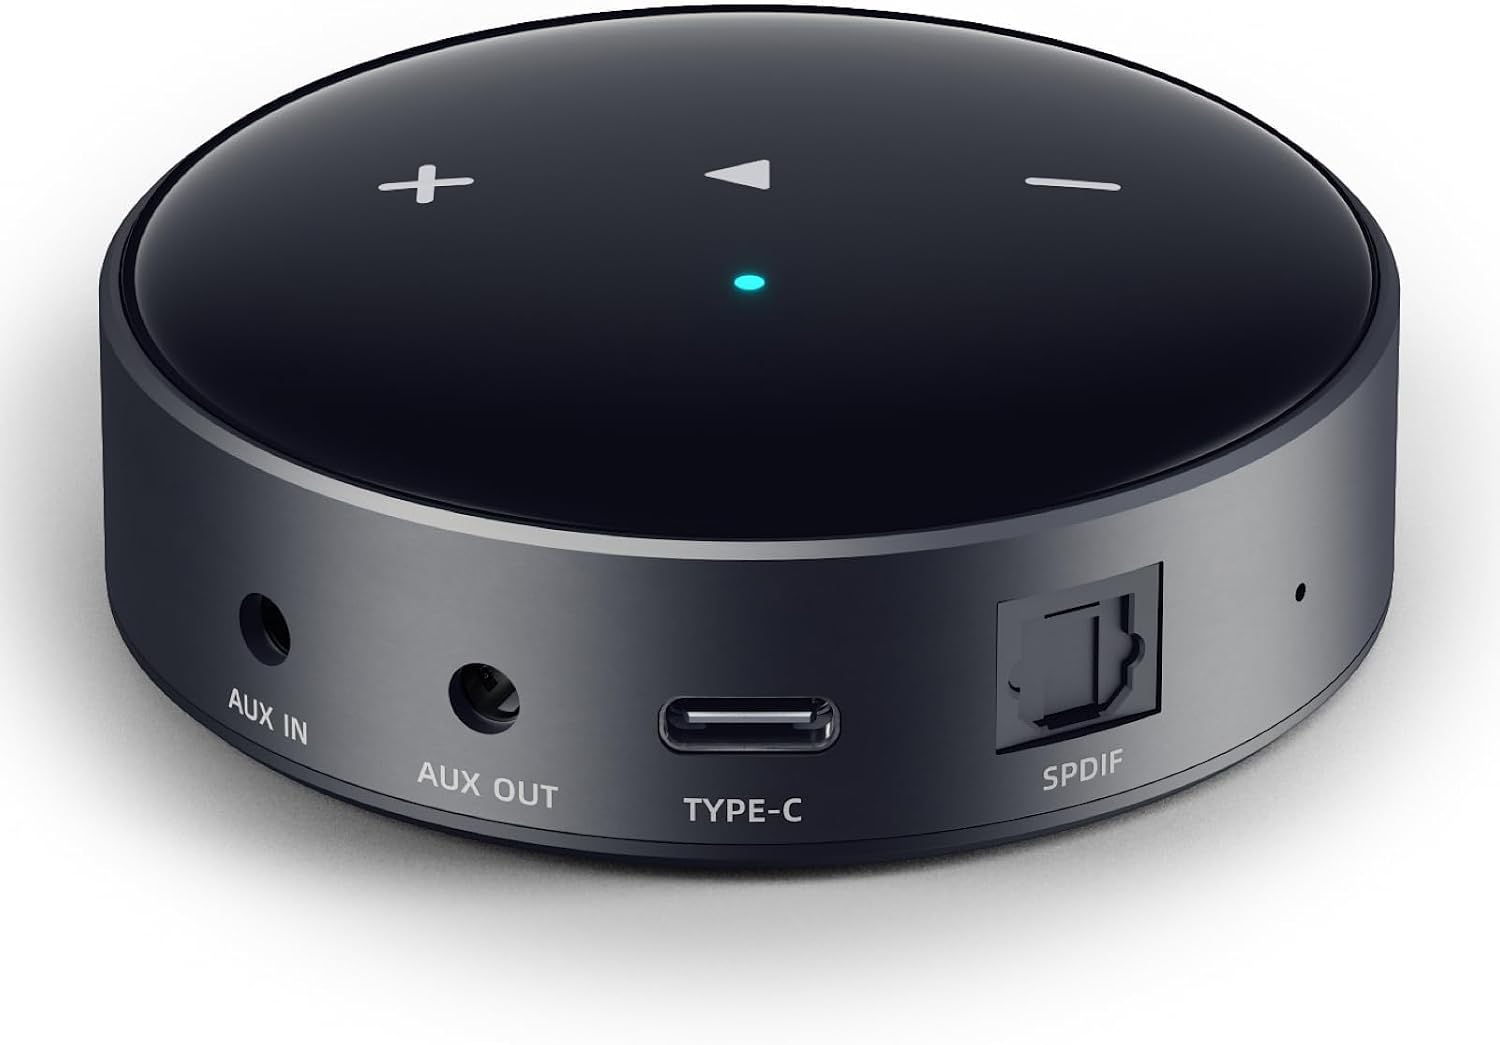
The streamer: WiiM Mini Wi-Fi Music Streamer, AirPlay 2 & Hi-Res Audio for Your Stereo
 Visit on Amazon →
This is the piece that makes the whole thing work, and it is about the size of a hockey puck. It takes your phone's streaming app, pulls the audio over Wi-Fi instead of Bluetooth, and hands it to your receiver through an optical or analog output. AirPlay 2 is on board, hi-res files are supported, and the control app is the part that matters day to day.
Why not Bluetooth? Because Bluetooth compresses what it sends and gives you a range measured in feet, not rooms. Wi-Fi streaming keeps the file intact and lets you leave the phone on the kitchen counter. Why not the TV's built-in music app? Because the TV usually resamples the audio and pipes it through whatever picture settings are active. A streamer into a spare input skips both problems.
Flaws but not dealbreakers: it needs a phone or tablet to drive it, so there is no remote in the box. It also wants a decent Wi-Fi signal, ideally on the 5 GHz band if your router splits the bands. Check whether the cable you need is in the box before you start, because the optical cable is not always included.
The actual setup workflow
This is the part you came for, and it works on almost any receiver with a spare input. Do it in this order and you skip the two hours of troubleshooting I get called about.
Step one: Place the speakers before you wire anything. Front left and right at ear height when you are sitting down, roughly as far apart as you sit from them, tweeters pointed at the couch. Center channel directly above or below the TV, as close to the screen as the cabinet allows. Subwoofer in a front corner to start, then move it if it booms.
Step two: Run the speaker wire. Keep the runs roughly equal in length for the front three, label both ends, and check polarity on every connection. A single reversed speaker will hollow out your music and you will blame the streamer.
Step three: Connect the TV to the receiver. Use the receiver's HDMI output to the TV's ARC or eARC input. Turn the TV's internal speakers off in the TV menu, and set the TV's digital audio output to bitstream or passthrough, not PCM downmix, so the receiver does the decoding.
Step four: Run the receiver's room correction. Put the included microphone at ear height at your main seat, keep the room quiet, and turn the ceiling fan off. This step is what makes music sound like it is in the room instead of in a box. Do it before you touch the streamer, so you are judging the streamer later and not the room.
Step five: Hook up the streamer. Optical out from the streamer into a spare optical input on the receiver is the cleanest path, since it keeps the conversion inside the receiver. Analog RCA into a spare line input is the fallback and it works fine. Power the streamer from the included USB supply, not a random charger, because cheap supplies are a common source of hum.
Step six: Name the input. In the receiver's menu, rename the input you used to something you will recognize. This sounds trivial. It is not. Two years from now, nobody in the house will remember which jack the streamer lives on.
Step seven: Set the streamer's output. In the streamer's app, set the output to fixed volume and match the resolution to your service. Fixed volume hands level control back to the receiver, which is what you want. Two volume controls fighting each other is how people end up with a hiss they cannot explain.
Step eight: Pick a music mode on the receiver. Switch the receiver to stereo or direct mode for music. Movie DSP modes add reverb and steering that smear a two-channel recording. If your receiver has a pure direct setting that bypasses extra processing, use it for music and switch back for movies.
Step nine: Set the crossover and level by ear. With music playing, walk the sub level up until you can just hear it, then back off a step. If the bass sounds slow or one-note, move the sub a few feet rather than reaching for the app.
Where this goes wrong
Ground loop hum. If you hear a buzz with the streamer connected, it is usually a power supply issue or a cable shield issue, not the streamer. Try a different USB supply and a different cable before you return anything.
CEC surprises. HDMI CEC lets the TV turn the receiver on and switch inputs, which is convenient until the TV hijacks the input while you are listening to music. Turn CEC off in the receiver menu if that gets annoying, and switch inputs by hand.
Weak Wi-Fi. A streamer behind a cabinet, next to a subwoofer, in a corner, is a bad place for a radio. If it stutters, move it out of the cabinet before you buy a mesh system.
Loudness normalization. Most streaming services have a setting that flattens the level of everything you play. It is fine for background music and terrible for critical listening. Turn it off if your service allows it.
Judging the streamer through a bad source. If you are casting from a phone app that already compresses the audio, you are not hearing the streamer. Start with a lossless service and a wired network path if you can.
The competition and why it lost
Bluetooth adapters are the cheapest version of this idea and the worst. They compress the signal, they tie you to one device, and the range is a joke in a house with any walls.
Smart TV music apps are free and convenient, and that is the whole argument for them. They resample audio, they ride on the TV's processing, and they disappear when the TV gets replaced. If you are happy with them, you are not the person reading this.
Soundbars with streaming built in are a real option for a small room with no space for speakers. I install them. But for music in a room where you can place two speakers, a bar gives up too much, and no room correction feature closes that gap.
A streamer with a screen on it costs more and does the same job. If you want the display, buy it. If you want the audio, the small box wins.
What this all costs
Check current Amazon price on both pieces before you order, because both move around. The streamer is the smaller number by a wide margin and the one that changes the system most. The receiver and speaker package is the bigger commitment, and it is the piece you will keep the longest.
Do the math on a per-day basis over five years, the way I do for clients. Even the bigger purchase works out to pocket change per day, and it replaces two or three separate purchases you would otherwise make: a soundbar, a Bluetooth speaker, and eventually a stereo that does the same job worse.
The labor is free. The settings are free. The twenty minutes you spend on room correction and input naming is the difference between a system that plays music and a system that plays noise through expensive speakers.
That is the job. Your receiver was built to do this. Let it.