Most people who email me about a 4K gaming projector setup already own the gear. The projector is sitting on the floor on a cardboard box, the soundbar is under the TV with the sub jammed into a corner, and nothing looks or sounds like the store demo did. Nine times out of ten nothing is broken. The room is doing exactly what rooms do, and nobody walked the install in the right order.
That order matters more than any spec sheet. Picture first, because a projector's placement decides everything downstream and no menu setting can undo a bad lens position. Audio second, because a soundbar judged before it sits at the right height is a soundbar you will wrongly return. Cable bandwidth in the middle, because a 4K gaming projector setup that quietly drops to a lower refresh rate on a long HDMI run is a setup that never actually got finished.
Here is the sequence I use on installs, and the two pieces of gear this guide runs on.
Why you should trust me
I spent my first eight years on a big-box install crew, pulling wire through Austin attics in August, and I have been independent since 2019. That is roughly 340 installs, and a good number of them started with a phone call from someone who had already bought everything and wanted to know why it sounded wrong.
Every soundbar I touch gets swept with a miniDSP UMIK-1 from the actual listening position, before and after its room correction runs. Every projector gets a Rec.709 pass with an X-Rite i1Display Pro in Calman. I have kept a calibration spreadsheet since 2016 with over 400 logged entries, and none of it was captured in a carpeted lab. My living room has tile floors, an open kitchen behind the couch, a ceiling fan that hums at exactly 60 Hz, and a wife who is a band director and can hear a flat note from the other end of the house.
I do not publish a lumen or wattage number I did not measure myself, and I will tell you when the box is selling you fiction. That habit has cost me sales. It is also why people call me after the gear is already bought.
The two pieces this setup runs on
Two boxes cover the whole job: something to throw the picture and something to make the sound. Everything below is written around those two roles, because the steps change depending on which one is failing.
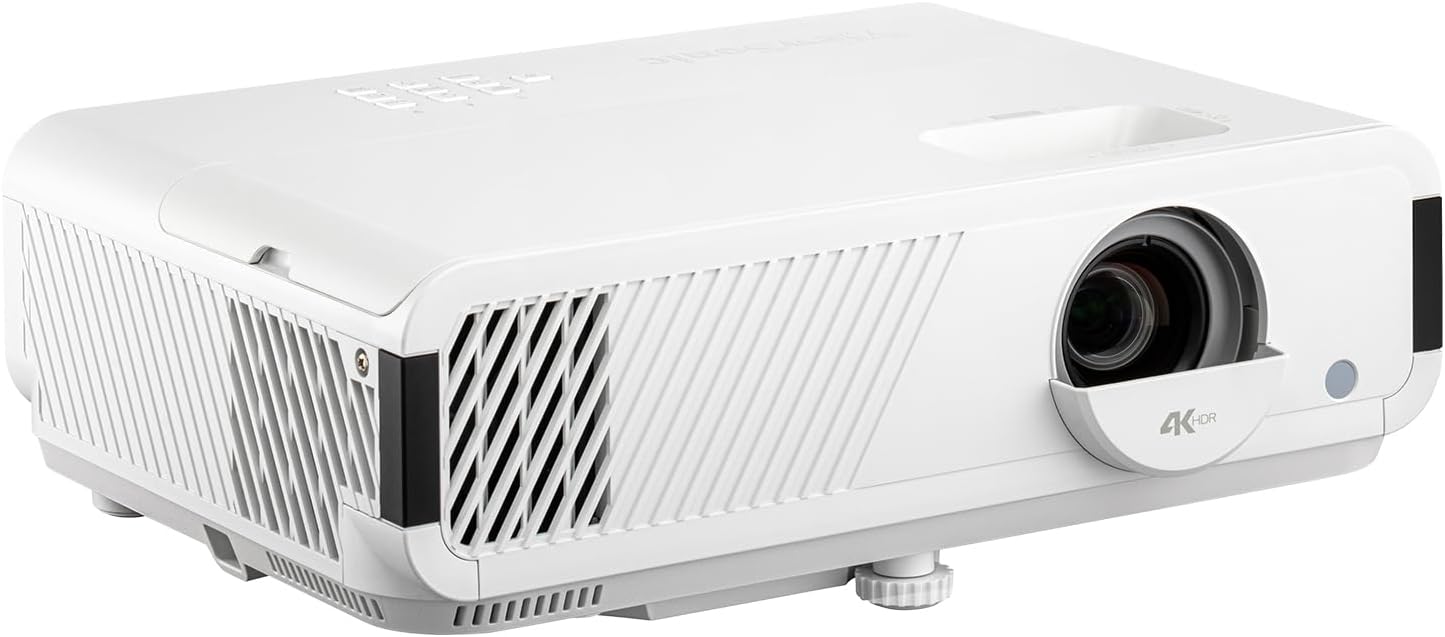
The display: ViewSonic PX749-4K 4K UHD Gaming Projector 4000 Lumens 240Hz Xbox HDR
 Visit on Amazon →
This is a 4K UHD projector built with console gaming in mind, which is the important part of the name. The 240Hz figure describes the input path it is designed to accept, so a console or PC that can feed a high refresh rate has somewhere to send it. HDR support is listed as well, and the 4000 lumens number on the box is a manufacturer claim, not a measurement. Treat it as a starting point for how much room light the projector can plausibly fight, then judge it on your own wall with your own blinds open.
For a game room, the two things that matter are the input path and the placement flexibility. Both are covered in the steps below. Check current Amazon price before you commit, because projector pricing moves around more than most categories.
What to check before you commit: Confirm the throw ratio against your actual room depth before ordering. A projector that needs 12 feet of throw to fill your screen is useless in a 10-foot room, no matter how good the picture is. Also confirm what refresh rate you can actually feed it from your console or GPU at 4K with HDR enabled, since every link in that chain has to agree.
Anyone building a game-first room where the projector is the main display will get the most out of this class of unit.
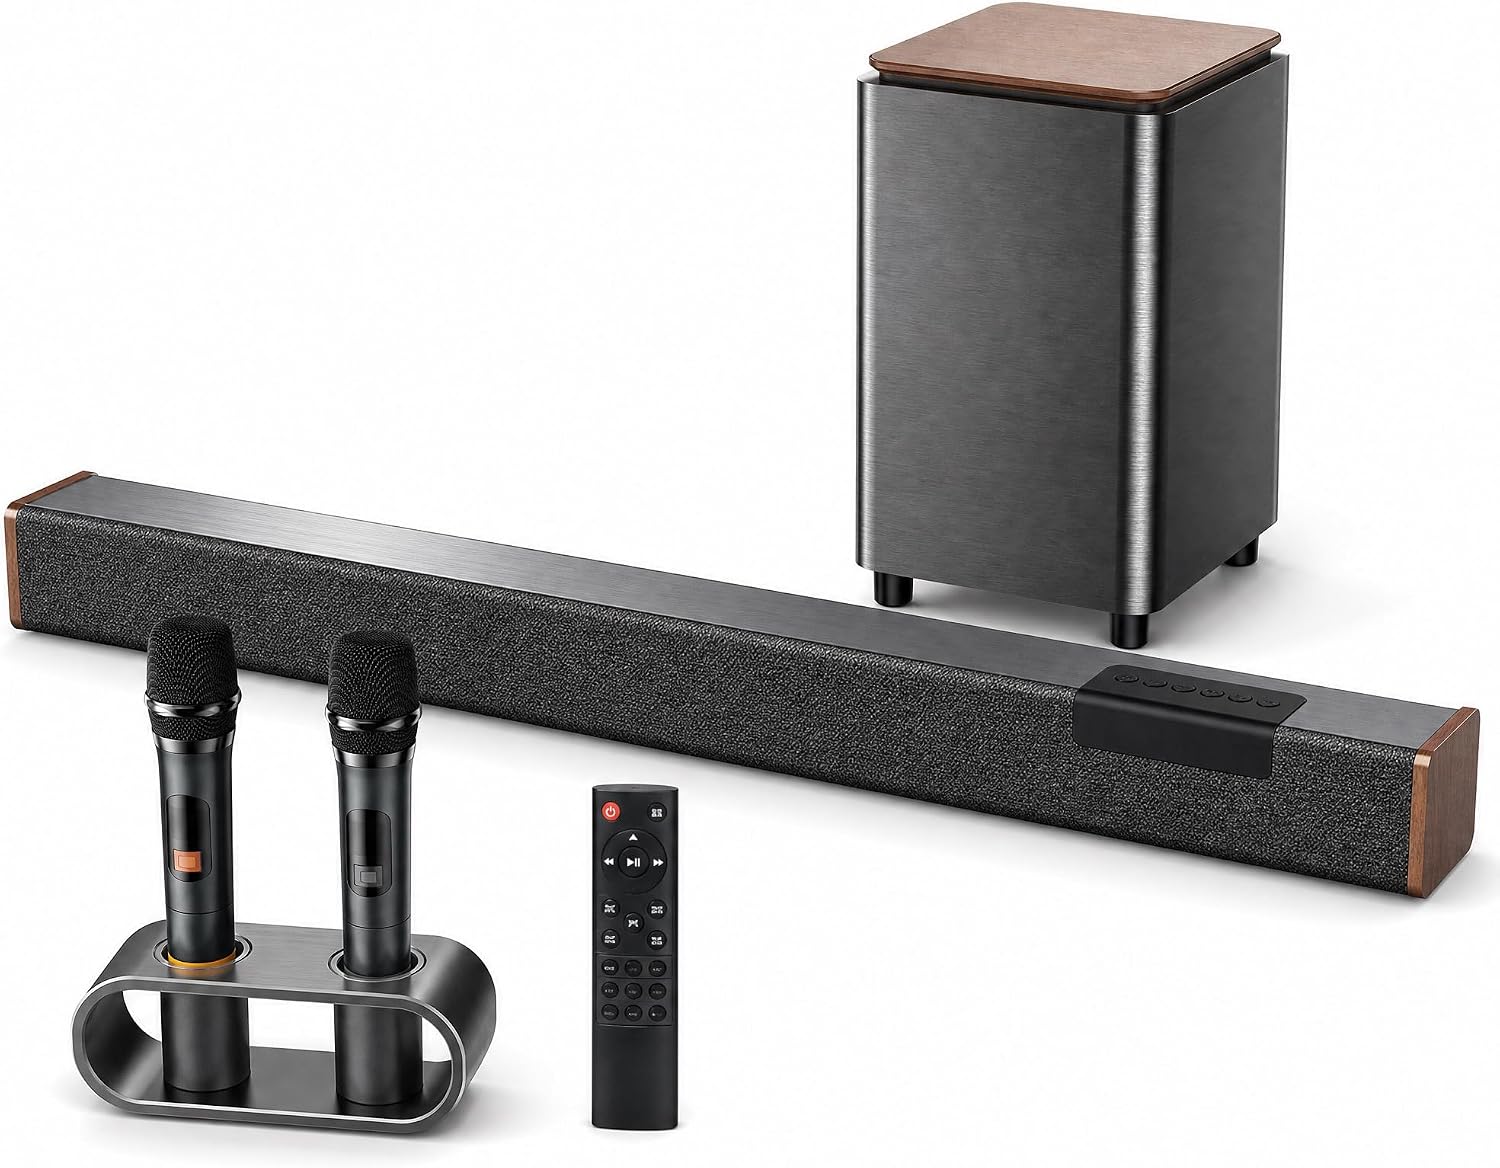
The audio: 160W Soundbar with Subwoofer & 2 Karaoke Mics for TV Home Theater
 Visit on Amazon →
This is a soundbar package with a subwoofer and two karaoke microphones included, rated 160W on the box. The wattage is a manufacturer number and I would not build a buying decision on it. What makes this bar interesting for a family game room is the pair of mics, because karaoke is the one feature that gets a whole household using the theater on a Tuesday night instead of only on movie night.
Check current Amazon price. Then think about the room you are putting it in.
What to check before you commit: Two microphones plus a subwoofer means gain staging matters. If the mic level and the master volume are both set high, you will find feedback before you find a good time. Set the bar's master volume first, then bring the mic gain up slowly. Also confirm the subwoofer connects wirelessly to the bar so you can move it during the placement step instead of being locked to the TV wall.
Anyone who wants movie sound and a reason for the family to gather in the same room will use both halves of this package.
Step one: choose the wall and do the throw math first
Do this before you buy a mount, not after. The projector's throw ratio decides how big the image is at a given distance, and the manufacturer publishes a calculator for every model. Measure from the front of the lens, not the back of the case, to the screen surface.
Two rules I enforce on every install. First, keep the lens as close to level with the screen center as the mount allows, and use lens shift for the rest. Keystone correction is a digital crop, so every degree of it costs you resolution and sharpness. Second, check the light path for anything that moves. A ceiling fan, a pendant light, or a kid running through the beam will show up on screen. In my own house the fan hums at 60 Hz and it took me two attempts to get the projector clear of it.
If you are ceiling mounting, the mount has to be rigid. Put a hand on the projector after it is up and give it a light nudge. If the image wobbles, the mount is the problem, and you will be re-leveling it every month.
Step two: run a cable that can actually carry the refresh rate
This is where most gaming setups quietly fail. A high refresh rate at 4K with HDR needs the full bandwidth path, and that means a cable rated for it end to end. The cheap cable in the drawer is the first thing to replace.
Length is the enemy. Above roughly 15 feet, a passive copper cable becomes a gamble, and the failure mode is not a black screen. It is a handshake that succeeds at a lower resolution or refresh rate than you asked for, which is worse because everything looks like it works. For long runs, use an active optical cable.
Test before you close up anything. Set the console or PC to the exact resolution, refresh rate, and HDR setting you intend to use, then look at the signal info screen on the projector to confirm what it is actually receiving. I just re-terminated a 30-foot run for the third time because it failed my bandwidth pattern test at the 24-foot mark. Assume your cable is guilty until it proves otherwise.
Step three: set the picture before you judge the projector
Out of the box, most projectors ship in a bright, cool, over-sharpened mode designed to look impressive on a showroom floor. That is not what your games were graded on, and it is why "cinema-grade color" claims often do not survive contact with a meter.
Start with the picture mode. Pick the calibrated or cinema-style mode, then turn off dynamic contrast, auto brightness, and any motion smoothing. Set color temperature to Warm, which gets you closest to the D65 white point everything is mastered at. Cool looks brighter in a store and is wrong in your room. Set gamma around 2.2 for a room with some light and closer to 2.4 for a dark room, and pull sharpness down to near zero.
For gaming, engage the low latency or game mode and confirm it is actually on. A low latency claim without a measured number behind it is marketing, and the only way to know is to feel the input response with the mode on versus off.
If you own a meter, run a Rec.709 pass and aim for a delta-E under 3, which is where color error stops being visible. If you do not own a meter, a calibration disc or a set of free test patterns gets you most of the way there. Do the picture work before you decide the projector is disappointing.
Step four: place the soundbar and the sub by measurement, not by guess
The bar goes at or near ear height at the main seat. That is it. That single rule fixes more "muddy dialogue" complaints than any menu setting. If the furniture will not allow ear height, get it as close as possible and keep it out of a cabinet, because a closed cabinet turns a soundbar into a muffled box.
The subwoofer is the part everyone gets wrong. Do not put it in the corner because the corner is empty. Put a 50 Hz test tone on repeat, sit in your seat, and have someone walk the sub to a few positions along the front wall and into the corners. You are listening for the spot where the bass is even and you can hear the pitch of the tone instead of just boom. Corner loading gives you more output and more one-note rumble. You want the spot where the low end stays clean.
Then run the bar's room correction from the couch, not from standing next to it. After it finishes, listen again. Room correction helps with what your room did to the sound. It cannot fix a bar with no headroom, and it cannot fix placement. If a bar distorts before it gets loud, no DSP rescues that.
Step five: run the dialogue check
Play ten minutes of a mumbly British crime drama at a normal volume, not a demo clip. If you have to push the volume up six steps to follow the conversation, something is wrong. Either the bar is sitting too low, it is inside a cabinet, or its presence band, the 1 to 4 kHz range where dialogue lives, is scooped out.
Try the bar's dialogue or voice mode only after you have fixed placement. Some of those modes hype the midrange and make everything sound like a phone call. If standard mode with correct placement does not work, the mode is a patch, not a fix.
Step six: set the karaoke mics up so nobody squeals
The two included mics are the reason this package ends up in family rooms. Set the master volume on the bar to a sane level first, then bring the mic gain up until voices sit on top of the music without clipping. Keep the mics away from the subwoofer and away from the bar itself, because a microphone pointed at a speaker is a feedback loop waiting to happen.
Test with the person who sings loudest in your house, not the quietest. Gain that works for a whisper will clip on a chorus.
What usually goes wrong
Almost every failed setup I get called to has the same five causes. Keystone correction used instead of moving the projector. A long passive HDMI cable that silently downgrades the signal. A subwoofer parked in a corner because it looked tidy. A soundbar buried in a media cabinet. And a console still set to the wrong output mode, so the projector never receives what it was bought for.
None of those are product failures. They are install failures, and they are all fixable in an afternoon with a tape measure and a test tone.
What this all costs
The projector and the soundbar are the two line items, and you should check current Amazon price on both, since home theater pricing swings with every sale cycle. Add a proper high-bandwidth cable for the run length you actually have, and a mount if the projector is going on the ceiling. A calibration disc or free test patterns cost nothing, and a measurement mic is optional if you want numbers instead of impressions.
Spread over three or four years, the cable and the mount come out to pennies a day. The placement work costs you one afternoon.
Do the steps in order, picture first, then cable, then audio, and you will end up with a room that looks and sounds like the demo you remember, without buying anything else.