Most people buy the projector and the soundbar in the same week and set both up in the worst possible order. They mount the screen first, hang the picture, and only afterward discover the bar has nowhere to sit and the sub is booming in a corner behind the couch. A projector and soundbar setup is a sequence problem long before it is a gear problem.
I have watched that mistake from both sides. I spent eight years on a big-box install crew pulling wire through 105 degree Austin attics, and I have been independent since 2019 with roughly 340 installs behind me. The three failures I see most often are the same failure wearing different hats: the projector is not square to the screen, the bar is sitting below ear height on a TV stand, and the sub is parked in the one corner that makes the room's worst mode louder.
None of that is expensive to fix. It is just order of operations.
This guide runs on two pieces I would actually install in a normal living room: a projector that handles its own focus and keystone, and a 2.1 bar with a wireless sub and enough inputs to survive whatever you plug into it. Either piece works alone. Together they cover a room that is a living room first and a theater second.
Why you should trust me
I have kept a calibration spreadsheet since 2016 with more than 400 logged measurements. Every soundbar that comes through my hands gets a UMIK-1 sweep in Room EQ Wizard from the actual listening position, before and after its room correction runs. Every projector gets an X-Rite i1Display Pro pass in Calman, and I publish the delta-E numbers that come out of it.
Nothing gets judged in a carpeted lab. My reference room is a tile-floored living room that opens into the kitchen, with a ceiling fan that hums at exactly 60 Hz and a wife, Alma, who is a band director and can hear a flat note from across the house. Gear that cannot survive that room does not get recommended here.
What I check before any gear goes in the room
A spec sheet is optimistic fiction until a microphone says otherwise, so here is what I actually look for.
Lumen claims. "3,000 lumens" and "1500 ISO Lumens" are not the same measurement, and the ISO figure is the more honest of the two. Even then, treat it as a ceiling, not a promise. A dim room needs far less light than a room with an uncovered west window.
The presence band. Dialogue lives between 1 and 4 kHz. If a bar scoops that range out, actors mumble no matter what the wattage sticker says. This is the single number that decides whether you can watch a British crime drama without subtitles.
Headroom at 60% volume. If distortion climbs before the bar gets loud, the wattage was a lie. THD is what "distorts at 60% volume" looks like on a sweep.
Sub placement. A wireless sub does not mean "put it anywhere." I move mine to four corners with a 50 Hz sine and a tape measure, because the corner you pick changes the bass more than the bar does.
Inputs and handshake. HDMI ARC is convenient and occasionally temperamental. Optical always works. A bar with both is a bar you can troubleshoot.
The two pieces this setup runs on
Everything below is built around two products: a projector with enough automation to survive a shelf install, and a 2.1 bar that covers dialogue and bass without asking you to run wire.
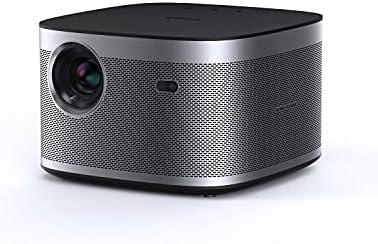
Our pick: XGIMI HORIZON 1080p FHD Projector 4K Supported Movie Projector, 1500 ISO Lumens, Harman Kardon Speakers, Android TV 10.0, Auto Focus, Auto Keystone Correction, Auto Object Avoidance, WiFi Bluetooth
 Visit on Amazon →
This is the projector I would hand someone who does not want to buy a mount, a ladder, and a level. Auto focus, auto keystone correction, and auto object avoidance mean the unit can square its own image around an outlet or a picture frame on the wall, which is exactly what a shelf or coffee table install needs. Android TV 10.0 lives inside the projector, so Netflix and the rest of the apps run from the projector itself and you do not need a streaming stick hanging off the back. Harman Kardon speakers are built in, which means the room has sound the day you unbox it, before the bar shows up.
The catch is the same catch every projector has. The 1500 ISO Lumens figure is a manufacturer number, not a measurement, and 1080p is the native panel with 4K support layered on top, so it accepts a 4K signal and scales it. For streaming and broadcast that is invisible. For a disc collection it is a compromise you are choosing on purpose.
Flaws but not dealbreakers: The auto adjustments are only as stable as the surface under the projector. On a wobbly shelf, expect to re-run the keystone after the kids bump it. Give it a solid top and the automation stays put.
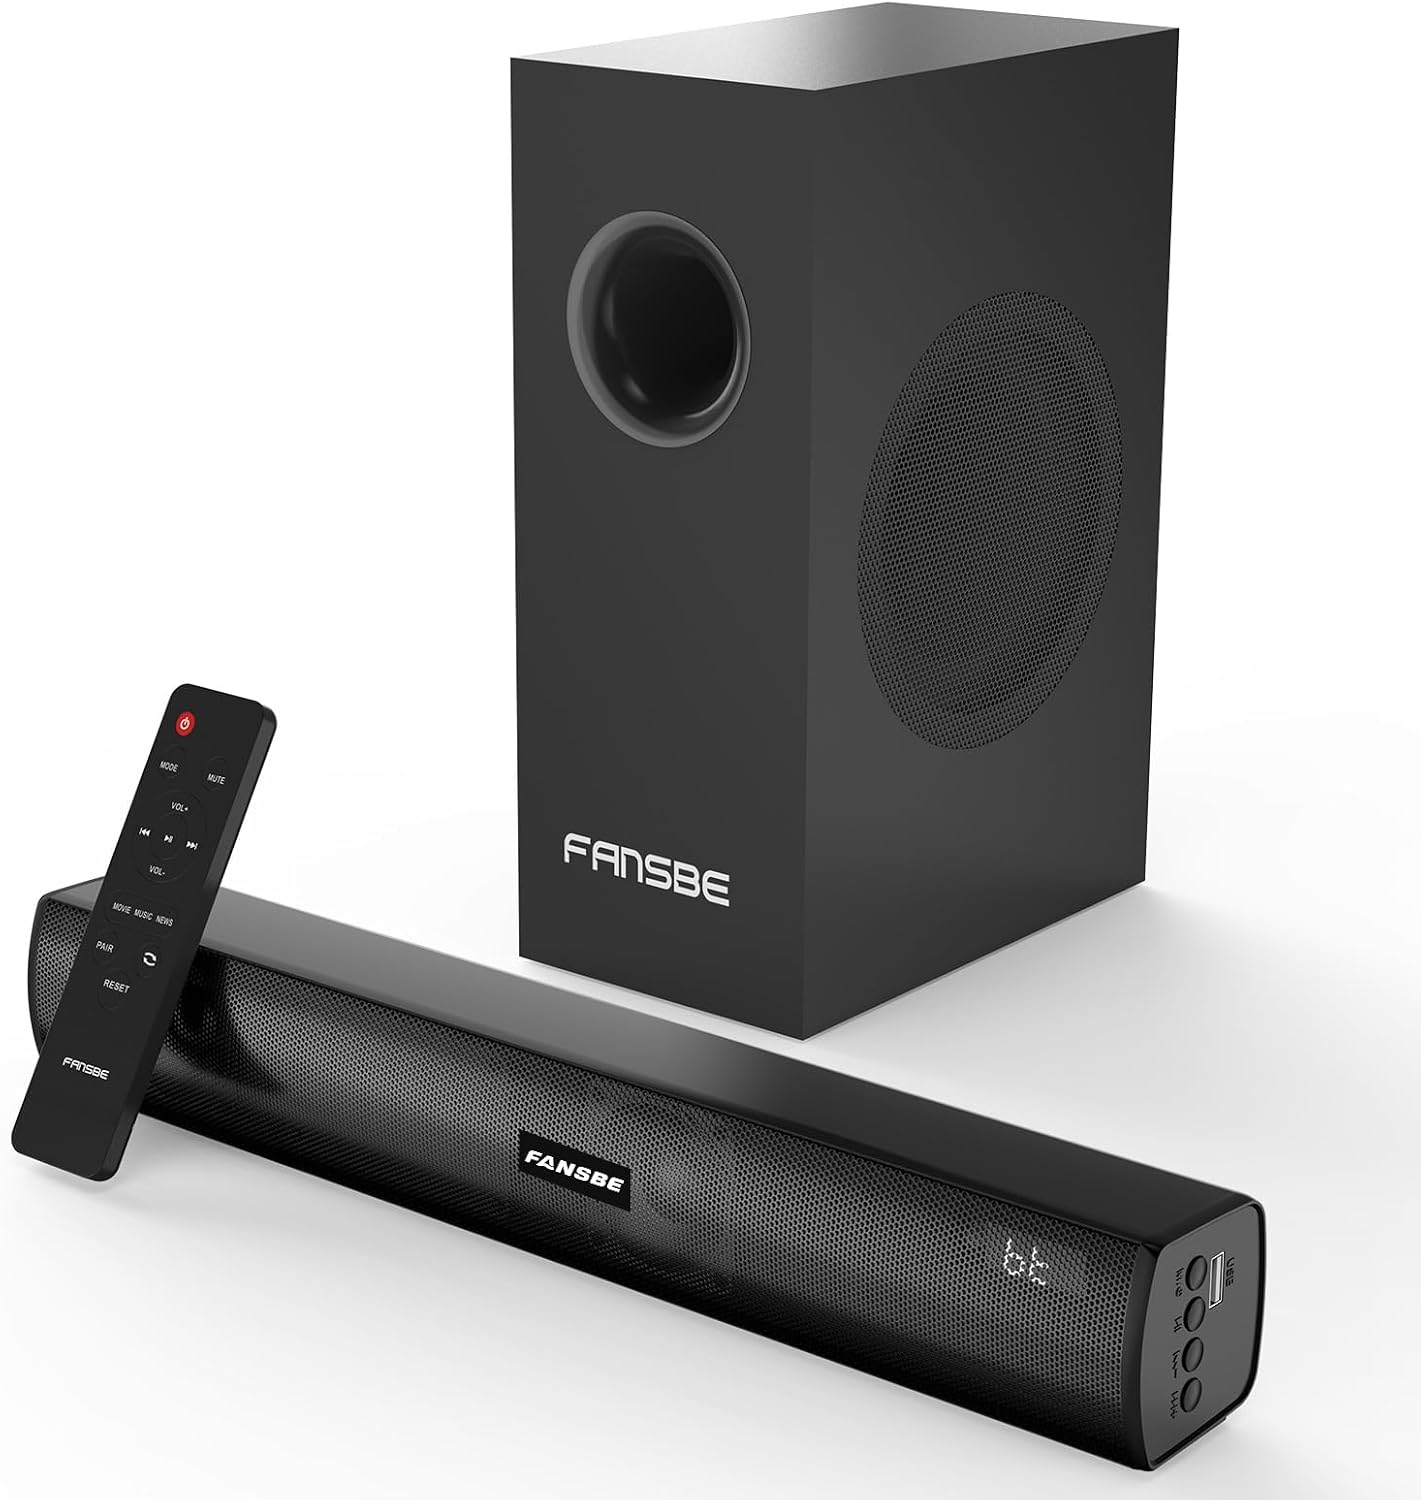
The value pick: Home Theater Sound Bar Subwoofer, Sound Bar Bluetooth Surround Speakers, TV Speakers Sound Bars Bluetooth Hdmi(ARC) Optical Coaxial AUX USB 2.1ch Home Audio Sound System TV PC Wall MountS, Black
 Visit on Amazon →
This is the bar I point people to when the budget is real and the room is not dedicated. It is a 2.1 channel system with a wireless subwoofer, and the input list is the reason it works with a projector: HDMI ARC, optical, coaxial, AUX, USB, and Bluetooth all on the back. ARC lets the projector remote handle volume when the handshake cooperates. When it does not, optical is the fallback that never argues with you, and that alone saves a service call.
The wall mount option matters more in a projector room than people expect, because screens tend to sit higher than a TV would, and a bar on a low stand ends up pointing at your knees. Mounted under the screen and angled down slightly, it aims at ears instead.
One caveat, and it is the one I repeat to every client: the "surround" modes on a 2.1 bar are DSP, not extra channels. They hype the midrange and wreck dialogue. Set the bar to its standard or movie mode, leave the hype modes off, and the presence band stays intact.
Flaws but not dealbreakers: There are no discrete rear speakers here, so nothing will fly over your shoulder. That is the trade for not running wire through a finished ceiling.
Step one: choose the screen wall before anything else
Walk the room at the hour you actually watch. If a window throws light on the only wall that fits a 100 inch image at 4pm, you have chosen the wrong wall, or you are committing to blackout curtains. Pick the wall, mark the center, and note where the nearest outlet and the nearest ceiling joist are. Both facts decide the next two steps.
Step two: get the projector square before you touch the picture
Place the projector at its throw distance, power it on, and let the auto focus and keystone do their work. Then do the part automation cannot do: walk up to the screen and look at the edges. If the top edge is wider than the bottom, the projector is tilted. Fix the physical angle before you let the software crop the image, because every correction the projector applies costs you resolution. Square the box first, then accept a small keystone correction for the last degree.
Step three: place the bar at ear height and the sub by tape measure
The bar goes at seated ear height or mounted under the screen and angled toward the couch. If it is sitting on a low media stand in front of a raised screen, it is firing under your ears and no amount of volume fixes that.
For the sub, do not guess. Put on a 50 Hz test tone, place the sub in each of the four corners for 30 seconds, and listen from the couch. One corner will sound bloated, one will sound thin, and one will sound even. Take the even one, even if it is not the pretty one, and even if it is not the corner your furniture layout prefers.
Step four: wire it in the right order
Source to projector first. Then projector to bar. If your source is a game console or a streaming box, run it into the projector's HDMI input and send audio out through ARC to the bar. If the projector's ARC output misbehaves, switch the bar to optical and set the projector to output PCM or Dolby Digital, not a bitstream format the bar cannot decode.
Keep the run short if you can, and dress it. A long HDMI run that fails a bandwidth test is the most common cause of "the projector keeps dropping the signal," and it is almost never the projector's fault.
Step five: run room correction, then listen for dialogue
Run the bar's room correction from the couch, not from standing next to it. Then play something dialogue heavy with no music, and listen for whether consonants stay crisp at a normal volume. If you have to crank it to understand speech, the bar is either scooped in the presence band or the room correction overcorrected. Toggle correction off and compare. Some firmware updates genuinely fix a bass hump. Others break the dialogue curve, and you only hear it on speech.
Step six: calibrate the picture to Rec.709
Set the projector to its movie or cinema picture mode, turn off any dynamic contrast or auto brightness, and aim for a gamma of 2.4 in a dark room or 2.2 with some light. Color temperature goes to warm. Motion smoothing goes off. If you own a meter and Calman, run the pass and chase delta-E under 3, which is the point where color error stops being visible. If you do not own a meter, the movie preset plus warm color temperature gets you most of the way there for free.
What to skip
Skip the soundbar's "3D" and "surround" processing modes. Skip auto brightness on the projector. Skip the urge to mount the bar directly on top of a low stand when the screen is high. And skip any sub placement chosen for looks rather than for a test tone.
The short version
Pick the wall, square the projector physically, put the bar at ear height, choose the sub corner with a tone instead of a guess, wire source to projector to bar, run correction from the couch, and set the picture to warm and 2.4 gamma. That is the whole job, and it is an afternoon.
The gear matters less than the order you do it in. A well-placed midrange projector and a 2.1 bar will beat a badly placed premium pair every single time, and the only measurement tool you need to prove it is your own ears from the seat you actually sit in.