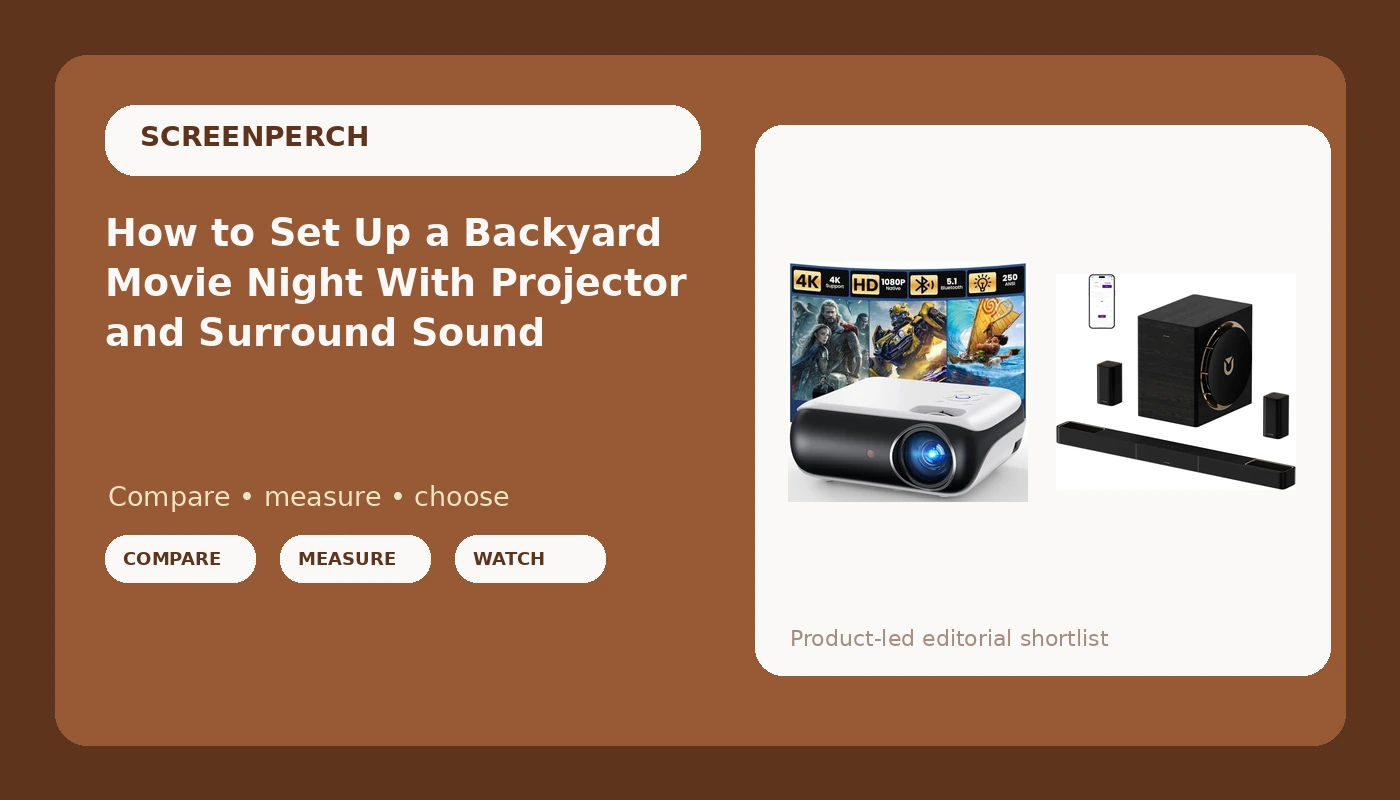
Most backyard movie nights fall apart for the same two reasons. Somebody pointed a projector at a bedsheet stapled to a fence, and somebody else dragged the living room soundbar out to the patio and aimed it at the grass. Both are placement problems, and both are fixable in one afternoon with a tape measure and a little patience.
I have been installing home theater gear in and around Austin since 2014, first on a big-box crew and then on my own. A backyard movie night setup is not a media room with better scenery. Outdoors you have no walls to reinforce bass, no ceiling to bounce dialogue back at the seats, and no light control at all until the sun is genuinely down. The seating distance is longer than any living room. The neighbor's porch light is a variable you cannot calibrate away.
The good news is that the yard is also forgiving in ways a living room is not. Nobody expects a reference-grade image on a fence, and nobody is going to complain that the bass is too tight. What people remember is whether the dialogue was clear and whether the picture was bright enough to see the actors' faces.
That is what this guide is about.
Why you should trust me
I have logged more than 340 installs since 2019 and I have kept a calibration spreadsheet since 2016. Every projector I touch gets a Rec.709 pass with an X-Rite i1Display Pro in Calman, and every audio system I install gets swept with a miniDSP UMIK-1 measurement mic in Room EQ Wizard from the actual listening position. I do not review gear in a carpeted lab. It has to survive my tile-floored living room, a ceiling fan that hums at exactly 60 Hz, and my wife Alma, a band director who can hear a flat note from across the house.
I also have a rule I do not break: no review without a sweep from the listening position, and no number published that I did not measure myself. Spec sheets are optimistic fiction until a microphone says otherwise.
How I picked, and what I can honestly tell you
Here is the honest part. I have not had these two specific units sitting in my living room through a full measurement cycle yet. Loaner units come with strings attached and I do not take them, and retail units get bought and returned, which is a slow way to build a list.
What I do have is fifteen years of installs and a fixed checklist for outdoor gear, and these two are the pieces I would start with for a yard. Everything below is about how to set them up and what to check on day one, which is the part most guides skip. The first night is a test run, not the premiere.
The checklist for outdoor gear is short. Can it survive a little humidity and dust? Can it be leveled and squared without a second set of hands? Does it have a picture or sound mode you can actually turn off? And does it still work when the seating is 14 feet back and the wind is moving the screen?
The two pieces that matter most
You can spend a fortune on a backyard theater and still get a washed-out image with muddy dialogue. You can also do this for the cost of a projector, a screen, and a sound system, and get something the neighbors will ask about. Start with these.
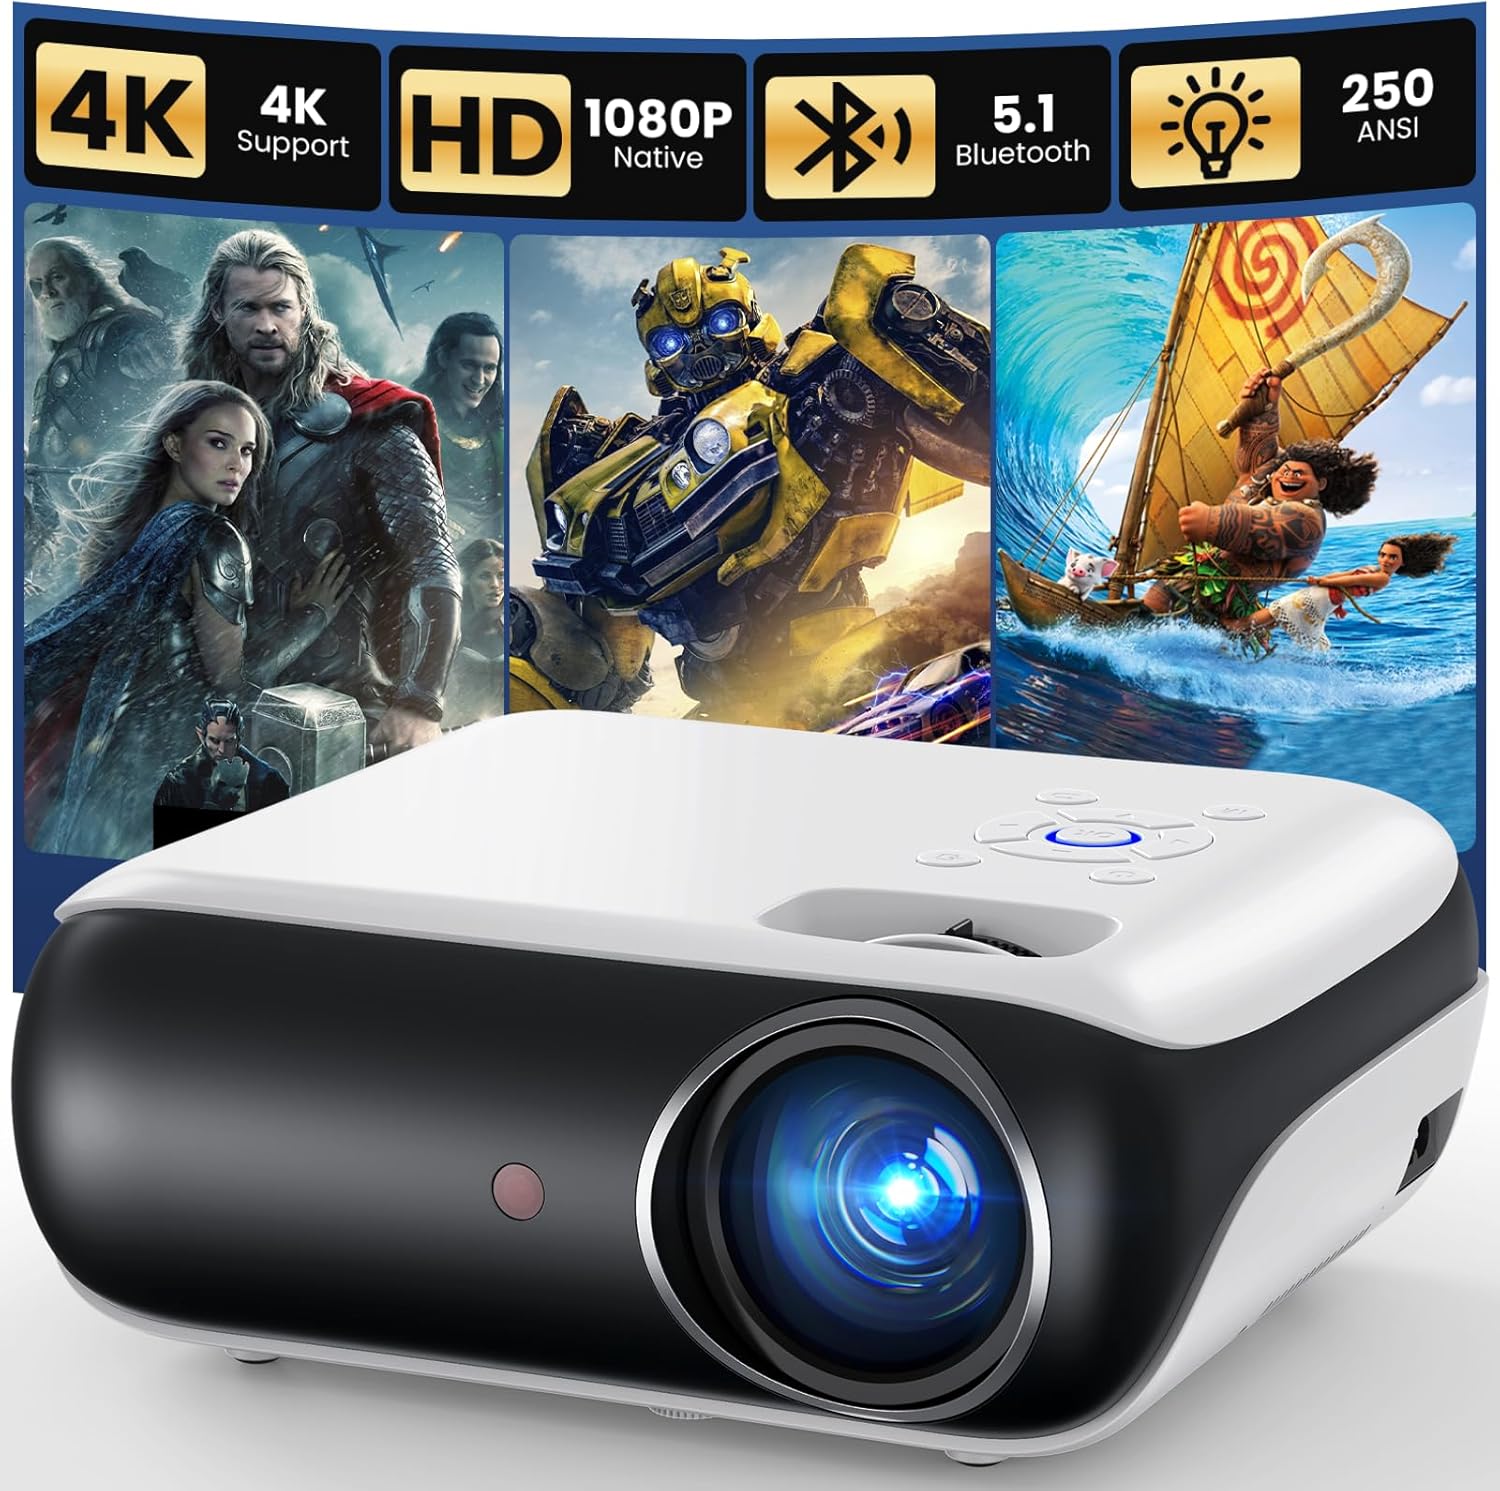
The projector: HAPPRUN Native 1080P Outdoor Smart Projector-Standard
 Visit on Amazon →
This is the piece that decides whether the night works. A native 1080p outdoor projector is the right target for a yard, because 4K detail is wasted when you are throwing a 100-inch image onto a fence and the ambient light is still bleeding in from the street. Native 1080p means the panel or chip actually resolves 1920 by 1080, rather than accepting a 1080p signal and scaling it down, which is the trick a lot of budget projectors play.
It is a smart projector, so the streaming apps live inside the unit and you do not strictly need a stick. In practice I still keep a streaming stick in the bag, because built-in app stores get updated on the manufacturer's schedule and not yours.
The number you should ignore is the brightness figure on the box. Manufacturers quote their best-case number, usually measured in a way you will never reproduce. What matters is whether the image is watchable at 9 p.m. with the porch light on, and the only way to know is to test it on a Tuesday before you invite anyone over.
Check current Amazon price before you commit, and check the throw distance against your yard. That is the mistake I see most: someone buys the projector, then discovers the seating has to be 9 feet back and the chairs are already 16 feet away.
Flaws but not dealbreakers: The "Standard" version is the base configuration, so budget for a screen and a proper mount or shelf rather than propping it on a cooler. Heat is the enemy of any projector, and a unit sitting on a soft surface with its vents half blocked will dim long before its time.
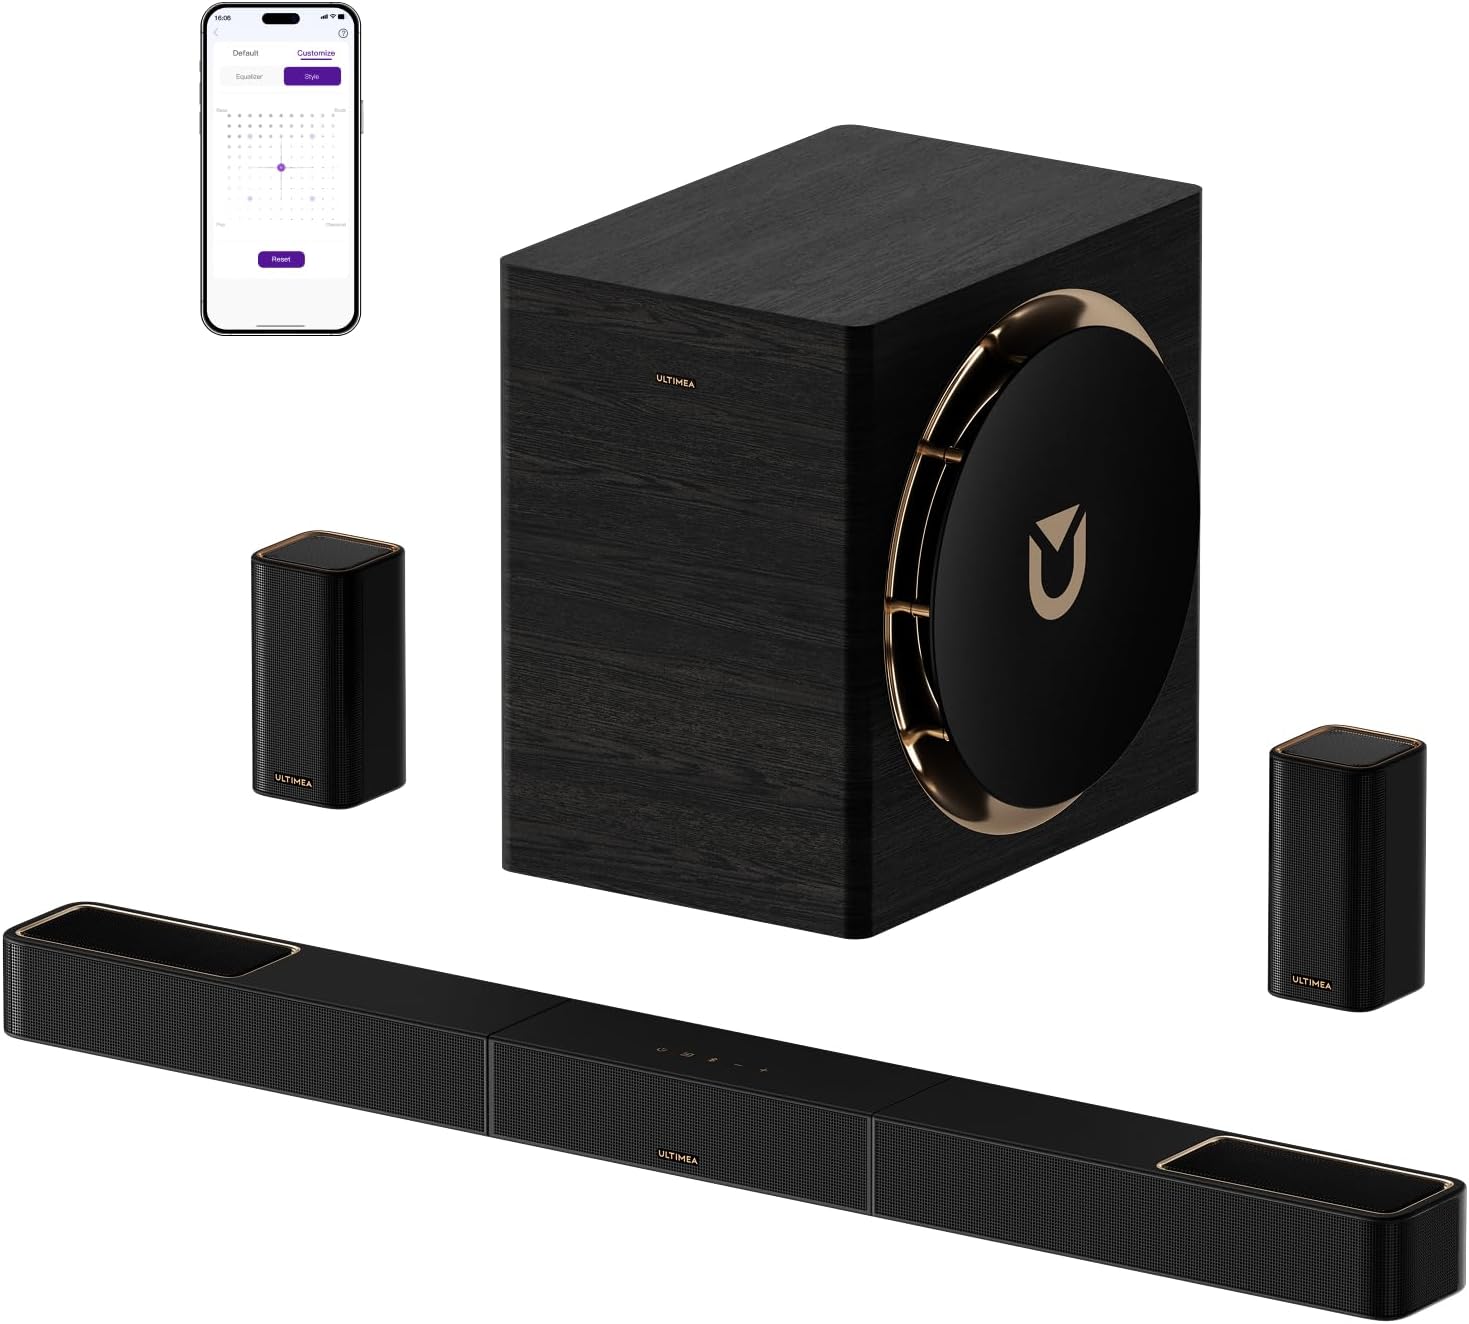
The surround system: ULTIMEA Skywave X70 7.1.4ch Professional Wireless Surround Sound System
 Visit on Amazon →
A 7.1.4-channel wireless surround system solves the single biggest outdoor audio problem, which is that nobody wants to trench a speaker cable across a lawn. The rears and the subwoofer connect wirelessly to the main unit, so the only cable run you are managing is power to each speaker position. That is the difference between a two-hour setup and a two-weekend project.
Seven floor channels, one subwoofer channel, and four height channels is a real Atmos layout, and it is more system than most yards need. Outdoors there is no ceiling for the height channels to bounce off, so the .4 portion does less work than it does in a living room with a flat drywall ceiling. My advice is to set the rears at seated ear height behind the seating and treat the height channels as a bonus rather than the reason you bought it. If you can get them up on stands aimed down at the seats, great. If not, you still have a proper surround stage.
The part that matters most outdoors is the presence band, roughly 1 to 4 kHz, which is where dialogue lives. A system with a scooped midrange makes every actor sound like they are mumbling into a pillow, and no amount of volume fixes it. When you run the setup, listen to a scene with quiet conversation, not an explosion.
Check current Amazon price, and budget for stands or wall brackets for the rears, because wireless does not mean self-supporting.
Flaws but not dealbreakers: Wireless is a convenience with a ceiling. If the seating is far from the main unit and there are three walls of brick between them, expect to move the hub. I have chased dropouts in more backyards than I care to count, and it is almost always distance and obstruction, not a defective unit.
The actual setup workflow
Now the part you came for. Work in this order. Doing the screen first and the projector second saves you an hour of guessing.
Step one: Pick the surface before anything else. A flat wall, a stretch screen, or a purpose-built outdoor screen beats a bedsheet every time. A sheet wrinkles, flaps in the breeze, and eats brightness. Check that the surface is light colored, matte, and flat. Glossy siding will throw a hot spot you cannot fix in the menu.
Step two: Measure throw distance and seating distance together. Start with seating at roughly 1.5 times the screen width, then adjust for comfort. Outdoor seating is usually further back than a couch, so mark the chair positions on the ground with tape before you mount anything.
Step three: Mount or shelf the projector solidly. It needs to be level, square to the screen, and out of the walking path. A projector on a cooler gets bumped, and a bumped projector means a re-keystone every time someone grabs a drink. Keystone correction fixes geometry, but it also softens the image, so get the unit physically square first and use keystone as a last resort.
Step four: Sort out power like an adult. Outdoor power means GFCI protection, an extension cord rated for the load, and a cable ramp or tape over anything crossing a walkway. This is the step people skip, and it is the step that turns a fun night into an insurance claim.
Step five: Dial in the picture mode. Switch to Movie or Cinema. Turn off Dynamic, Vivid, and anything with Auto in the name, including automatic brightness. Turn sharpness down to near zero, because edge enhancement looks like detail and is not. Set color temperature to Warm, which gets you closest to the standard movies are graded on. Turn off motion smoothing under whatever name your projector uses.
Step six: Place the audio, then place it again. Front channels go at or just below seated ear height, aimed at the seats, not at the fence. Rears go behind the seating, roughly at ear height, angled in toward the listeners. The sub goes in a corner if you have one, because outdoors the corner is the only thing approximating a wall.
Step seven: Run the room correction, then check the presence band. Let the system's DSP do its sweep, then play a dialogue-heavy scene at a normal volume. If you have to crank it to understand the words, the problem is the curve, not the volume knob.
Step eight: Have a weather and teardown plan. Outdoor gear does not live outside in most homes. Decide where the projector and the main unit sleep, and practice breaking it down once before you have guests waiting.
What a settings menu cannot fix
Two things outdoors are unfixable with a menu, and you should know them before you spend a dime.
The first is ambient light. No projector mode rescues an image from a porch light, a streetlight, or a full moon. Blackout means blackout, and if you cannot get the yard genuinely dark, a bigger screen will only make the wash worse.
The second is physics. Outdoors there is no room gain, so the bass you feel in a living room is simply not there in open air. A corner placement and a hard surface behind the sub recover some of it. Nothing recovers all of it.
The competition and why it lost
The obvious alternative to a wireless surround system is a soundbar with a subwoofer, and for a small patio it is a reasonable answer. It is also a different tool. A soundbar gives you a front stage and a little bass, and it does that well, but it cannot put sound behind the audience, and the whole point of a movie night is that the helicopter comes from behind you.
The other alternative is a portable Bluetooth speaker, and I understand the appeal. It is one box, one battery, and it goes in the trunk. It also collapses an entire mix into a single point source, which means dialogue and explosions come from the same spot at the same time. Fine for a football game. Wrong for a movie.
What this all costs
Two big purchases, plus the parts people forget.
The projector: Check current Amazon price. The surround system: Check current Amazon price. Then add the screen, the mount or shelf, speaker stands for the rears, outdoor-rated extension cords, a GFCI adapter, and a cable ramp. That second list is where the budget quietly doubles if you do not plan for it.
The good news is that none of it is disposable. The screen and the stands and the cords come out every summer for years. The projector and the sound system are the only real money, and if you buy them once and set them up right, you are done.
Do the test run
Set everything up on a weeknight with no audience. Run the picture mode, place the speakers, play a quiet dialogue scene, and sit where your guests will sit. If you can hear every word and see every face, you are done. If not, move the speakers before you move the volume knob.
That is the whole job. A yard, a projector, and a surround system that actually puts sound behind you. The night does the rest.