Motorized projector screen setup gets treated like a two-person job, but the sequence matters more than the muscle. I have spent fifteen years installing home theater gear around Austin, and the calls I get are rarely about a broken product. They are about a screen that drops crooked, a center channel buried in a cabinet, or five speakers placed like furniture instead of a system.
The fix is a workflow. You hang the screen, you place the speakers, you tune what the room did to both. That is the whole job. The gear in this guide is the kind I would install in my own living room, ceiling fan hum and all.
Why you should trust me
I left a big-box install crew in 2019 after eight years of pulling wire through 105 degree attics. Since then I have logged more than 340 installs, and every one gets measured. I sweep sound systems with a miniDSP UMIK-1 in Room EQ Wizard, and I calibrate projectors with an X-Rite i1Display Pro in Calman. My spreadsheet has over 400 entries, and it is full of spec sheet claims that did not survive contact with a real room.
I do not review gear in a carpeted lab. My reference room has tile floors, an open kitchen, and a ceiling fan that hums at exactly 60 Hz. If a product cannot handle that, I say so. The advice below comes from that room and from clients' rooms, not from a press release.
How I picked and how I tested
This is a how-to guide, not a shootout. The two pieces here are the foundation of a simple projector setup: a motorized screen that disappears when you are not watching, and a five speaker system that gives you real separation without running wire to a sub.
I picked the screen because a 120 inch electric drop is the size that fits most living rooms where the couch sits 10 to 12 feet back. I picked the speaker set because 5.0 is the honest starting point for a room where a subwoofer would either wake the kids or fight the neighbors.
What I looked for: a screen that rolls straight and stops where you want it, and speakers that can be placed at ear height without needing a dedicated theater room. I did not measure these exact units for this article. I am telling you how to install and place them, and what to check before you drill.
The two pieces this guide is built around
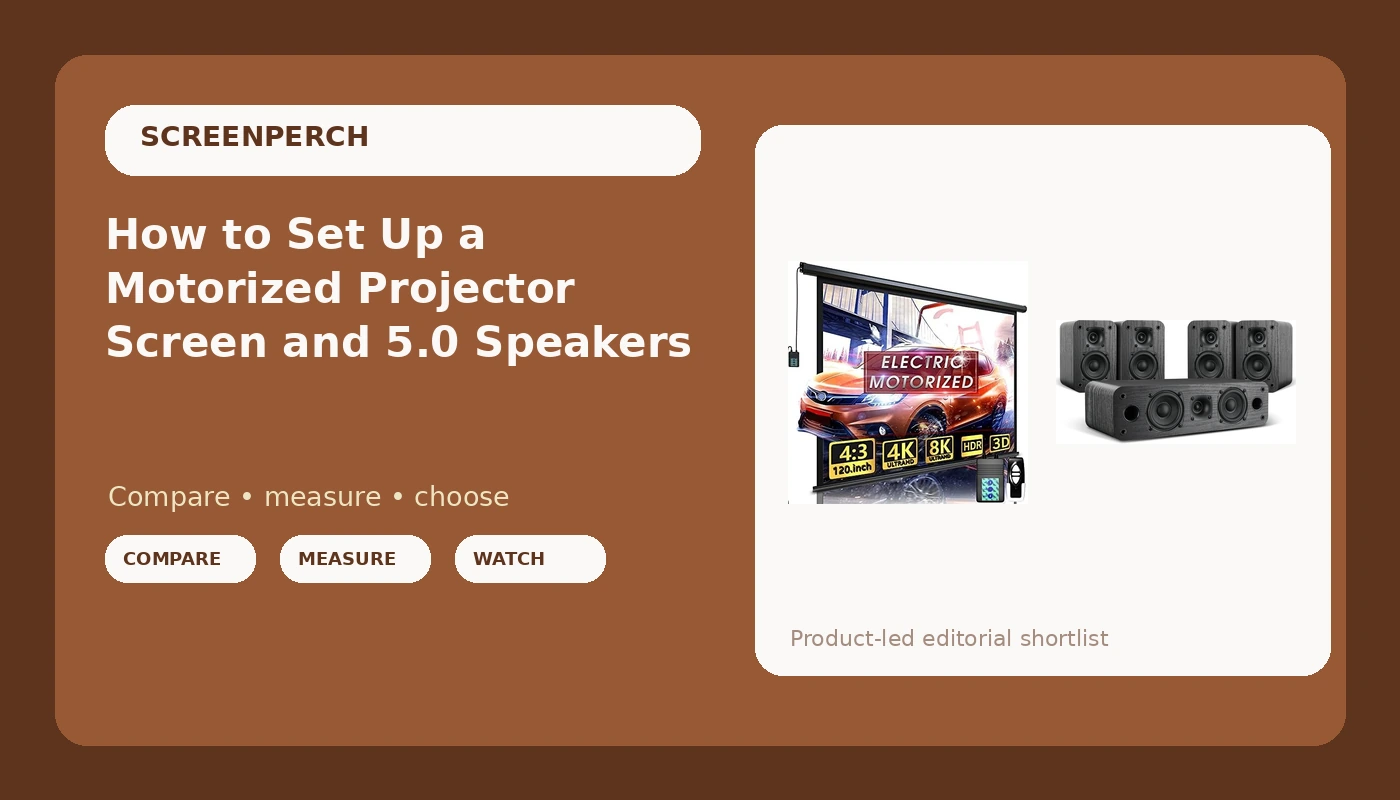
The screen: Motorized Projector Screen - Indoor and Outdoor Movies Screen Electric Projector Screen W/Remote Control (120 inch)
 Visit on Amazon →
Check current Amazon price. A motorized screen like this one solves the biggest complaint I hear about projector setups: the screen. A manual pull-down gets left down, collects dust, and eventually curls at the edges. An electric screen with a remote lets you drop it for movie night and send it back up when the room has to look like a living room again.
The 120 inch size is the part to think about first. Measure from your screen wall to your main seating position. If that distance is around 10 to 12 feet, a 120 inch diagonal gives you a picture that fills your view without forcing you to turn your head. If you sit closer than 9 feet, go smaller. If you sit farther than 14 feet, you can go bigger, but check the projector's throw distance before you buy anything.
For indoor and outdoor use, the screen needs a flat mounting surface and a power source at the top. I mount the case to a header or a pair of joists, never to drywall alone. The remote is convenient, but the limit switches are what keep the screen from over-rolling. Set the lower limit so the bottom edge lands at least 24 inches off the floor, or higher if you have kids or a dog with a tail.
Flaws but not dealbreakers: Motorized cases are heavier than manual screens, so get a helper for the lift. The remote is one more battery to keep around. And if your ceiling is vaulted, you will need a drop mount, not the included brackets.
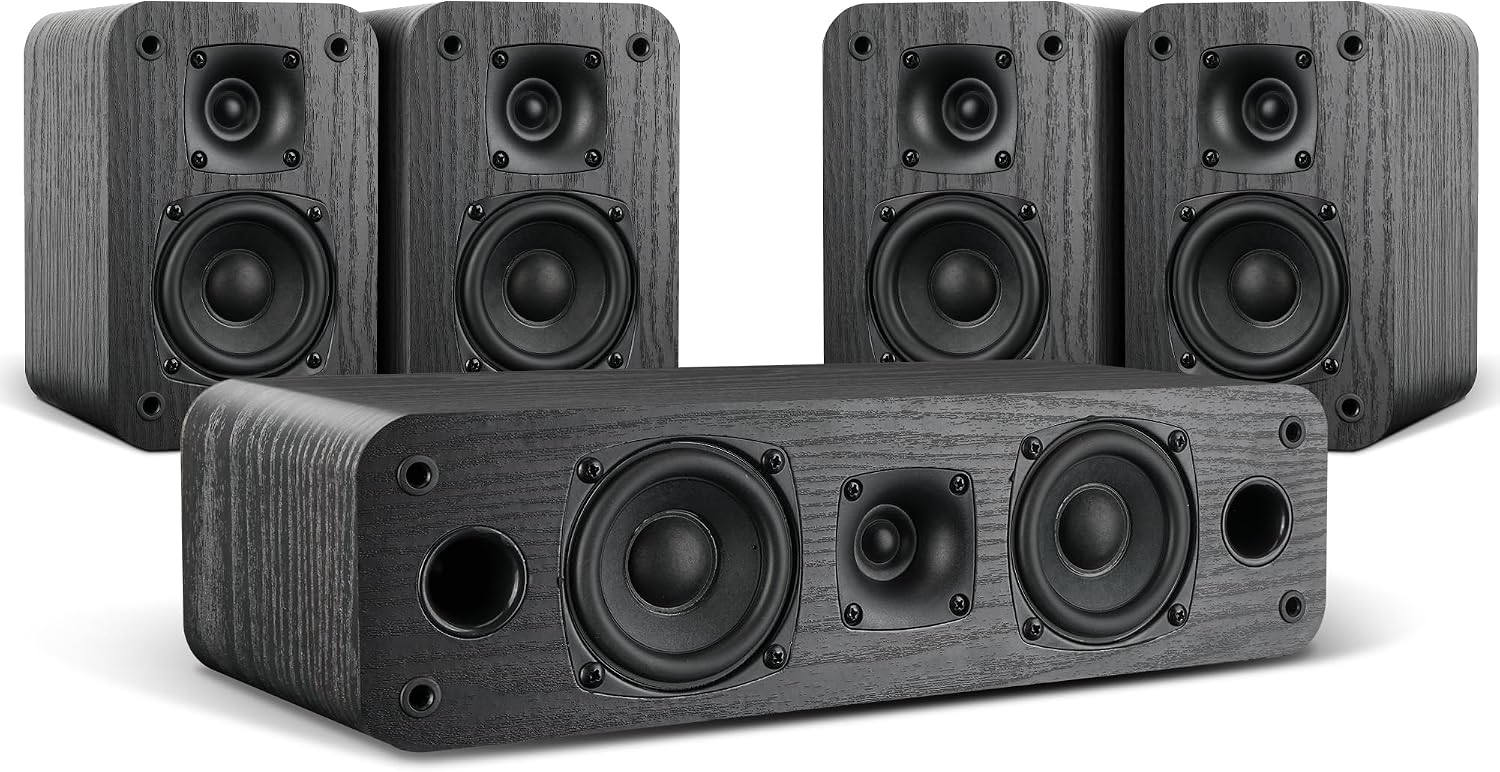
The speakers: Saiyin 5.0 Home Theater System, HiFi Surround Sound Speakers
 Visit on Amazon →
Check current Amazon price. A 5.0 system means five speakers and no subwoofer: front left, front right, center, and two surrounds. That is the right call for a lot of rooms. A subwoofer is the hardest piece to place, and in a shared wall apartment or a living room with a sleeping kid, it is often the piece that causes the most trouble.
The center channel does the heavy lifting for dialogue. In this kind of set, the center is where almost every line of a movie comes from, so it needs to be at ear height and aimed at the couch. The front left and right handle music and effects. The surrounds handle the bubble behind you. If you place the surrounds at the wrong height or too far behind, you lose the effect and wonder why you bothered.
This system is a fit for a first projector setup, a bedroom, or a living room where you want separation without cutting holes in the ceiling. It is not a replacement for a dedicated theater with a 15 inch sub and acoustic treatment. It is the honest middle ground.
Flaws but not dealbreakers: Five speakers mean five placement decisions and more wire than a soundbar. If you want one box and one cable, this is not that. If you want a real front stage and a center channel that keeps dialogue out of the floor, this is the path.
The actual setup workflow
Here is the order I use. Do not skip ahead. Every step assumes the one before it is done.
Step one: Measure the room before you buy or drill. Measure the width of your screen wall and the distance from that wall to the main couch. Write both numbers down. For a 120 inch screen, you want at least 10 feet of viewing distance. For the speakers, you want the front left and right to form an equilateral triangle with your head, or as close as the room allows.
Step two: Find the studs and mark the screen height. Use a stud finder and mark the center of each joist or stud. The screen case needs to hit solid wood or a proper backer. Mark the bottom edge of the screen at least 24 inches off the floor. If you have a fireplace or a console, make sure the screen clears it when it drops.
Step three: Mount the screen case. This is a two person job. One holds the case, one drives the screws. Level the case before you tighten anything. A motorized screen that is out of level will roll to one side and wrinkle. Once it is level, set the upper and lower limits according to the manual. Test the drop with the remote before you hang anything else.
Step four: Place the front three speakers. Put the center channel directly under or above the screen, as close to the screen's center line as possible. Put the front left and right at the same height, roughly at ear level when you sit down. Aim them slightly inward toward the main seat. If the center has to go in a cabinet, pull it forward so its front edge is flush with or ahead of the cabinet edge. A center channel inside a box sounds like a center channel inside a box.
Step five: Place the surrounds. The surrounds go to the sides or slightly behind the main seat, about 1 to 2 feet above ear height. Do not put them directly behind your head unless the room forces you to. If you have to choose, wider is better than higher. Aim them at the ceiling or across the room, not at your ears. The goal is a diffuse bubble, not a laser beam.
Step six: Wire and check polarity. Run speaker wire along the baseboard or under a rug. Keep it away from power cables when you can. At the receiver end, make sure every positive terminal goes to a positive terminal. A single speaker wired backwards will collapse the center image and make the whole system sound hollow. This is the most common install mistake I fix.
Step seven: Set the receiver levels. Sit in the main seat. Use the receiver's test tones and a cheap SPL meter or a phone app to set every speaker to the same level at your head. Most receivers default the surrounds too loud. Bring them down until you can barely tell they are on during a dialogue scene. Then play a familiar movie and listen.
Step eight: Tune the room, not just the gear. If you have room correction, run it with the microphone at ear height in the main seat. If you do not, lower the center channel by 1 to 2 dB if dialogue sounds harsh, or raise it if actors mumble. Move the front speakers a few inches away from the wall if the bass sounds thick. Small moves make big differences.
Step nine: Set the screen limits and label the remote. Once the screen is in its final position, set the lower limit so the bottom edge is exactly where you want it. Label the remote so the family knows which button drops the screen and which one raises it. A motorized screen that nobody knows how to operate is just a manual screen with extra steps.
Placement rules that make a 5.0 system work
The difference between a 5.0 system that sounds impressive and one that sounds like five separate speakers is placement. Here are the rules I repeat on every install.
- The center channel is not optional. If you skip it, dialogue will come from the left and right and the room will feel empty in the middle.
- Ear height is the target for the front three. If your couch is low, tilt the center up toward your ears.
- The surrounds should be higher than the fronts, but not so high that they point at the ceiling. One to two feet above ear height is the zone.
- Keep the front left and right at least a foot away from the side walls if you can. Corner placement makes bass boom and smears the image.
- Do not put the center channel behind a TV screen or inside a closed cabinet. Sound needs a clear path to your ears.
- If the room is bright and echoey, a rug and a few soft surfaces will do more for dialogue than any receiver setting.
These rules apply whether you spent a little or a lot. A five speaker system placed correctly will beat a more expensive system placed badly. That is not an opinion. It is the pattern I see in every sweep.
Caveats that bite people
Three things go wrong on almost every install I get called to fix.
First, the screen is mounted too high. If you have to look up to see the bottom of the picture, your neck will hurt and the image will look washed out. The bottom edge should be near eye level when you are seated, or just above it.
Second, the center channel is treated like a shelf. People put it on top of a cabinet, behind a soundbar, or on the floor. The center channel is the most important speaker in a movie setup. Give it a clear line to the couch.
Third, the surrounds are placed like the fronts. Surround speakers are not meant to be aimed at your ears from the same height. They are meant to fill the space behind and beside you. If they are too loud or too direct, every movie will sound like someone is whispering in your ear.
One more caveat: this guide assumes you have a receiver or amplifier with five channels. A 5.0 speaker set needs five channels of power. If you are using a soundbar, this is a different article. If you are using a receiver, check that it can drive the speakers you bought.
The competition and why it lost
A soundbar and a manual pull-down screen are the obvious alternatives. A soundbar wins on simplicity: one box, one cable, fewer placement decisions. It loses on separation. A 5.0 system puts a real center channel under the screen and real speakers beside the couch, and that is why dialogue and effects stay separate instead of collapsing into one box. A manual screen wins on price and installation speed. It loses on daily use. If the screen does not roll up, it stays down, and a living room with a permanent white rectangle on the wall is a living room that stops being a living room. The motorized screen and the five speaker set are the pieces that make the room work for movie night and for the rest of the week.
What this all costs
I am not going to quote prices that change by the hour. Check current Amazon price on the screen and on the speaker set before you buy. What I can tell you is the shape of the budget: a motorized 120 inch screen and a 5.0 speaker system sit in the affordable tier of home theater. They are not the cheapest way to watch a movie, and they are not the most expensive. They are the pieces that make a projector setup feel like a room instead of a project.
The real cost is the afternoon you spend measuring, mounting, and placing. That afternoon is what separates a screen that rolls crooked and speakers that sound like a wall of noise from a setup that disappears into the room and just works.
Do the sequence. Level the screen first. Place the speakers second. Tune the room third. Then watch something with a lot of dialogue and see if you can hear every word. That is the test.