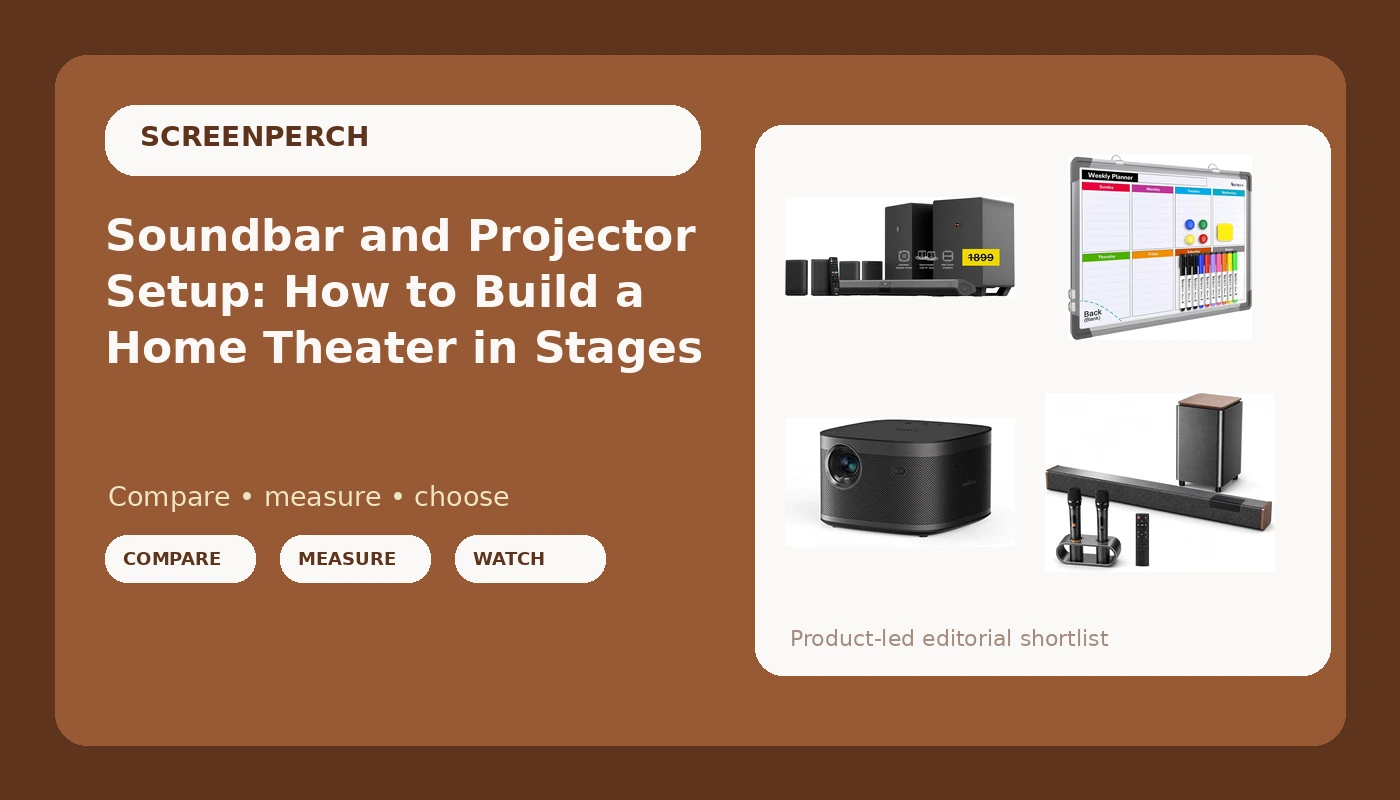
Most home theater builds do not fail because somebody bought the wrong box. They fail because the box went into a room nobody measured, onto a wall nobody checked, with the subwoofer parked in the one corner that doubles every note near 60 Hz. Soundbar and projector setup is mostly a sequencing problem. You find out what the room does, you decide what the screen and the speakers have to do, and only then do you buy gear that fits that plan instead of building a plan around whatever showed up in the truck.
This is an explainer for the staged build, the one where the projector arrives this month and the surround system arrives next month, and the only reason the two of them end up agreeing with each other is that somebody wrote the plan down where they could see it. Four items come up over and over in that conversation: a full surround system, a 4K projector, a starter bar with microphones, and the low-tech planning tool that keeps the whole install on schedule.
Related: Subwoofer Placement: A Measurement-First Approach →
Quick answer
Match the display and the audio to the room you actually have, measure before you mount anything, and keep the plan somewhere visible. A projector works when you can control the light and you have a wall or screen wide enough for the throw distance. A soundbar will not replace real speakers in a dedicated theater room, but it can carry dialogue and effects far better than TV speakers when the bar sits near ear height, the subwoofer gets moved to a spot that measures well, and the room correction runs from the couch instead of from the box. The four items below cover a full surround build, a large-screen centerpiece, a family-room bar, and an install planner. None of them is automatically right for every room, and none of them removes the need for a measurement.
Four useful options
| Model | Best fit | What stands out |
|---|---|---|
| Shockwafe 9.2.4 Dolby Atmos/DTSX Surround Soundbar Sys-Dual 10" Subs*1300W | Rooms where speakers can go behind and beside the seating | Listed 9.2.4 Atmos and DTS:X layout with two 10-inch subwoofers |
| XGIMI Horizon Pro 4K Projector, 1500 ISO Lumens, Android TV 10.0 Movie Projector with Integrated Harman Kardon Speakers, Auto Keystone Screen Adaption Home Theater Projector | Light-controlled rooms that want a screen past 100 inches | 4K resolution, Android TV built in, listed 1500 ISO lumens, auto keystone |
| 160W Soundbar with Subwoofer & 2 Karaoke Mics for TV Home Theater | Family rooms that watch TV and sing | Bundled subwoofer and two microphones in one package |
| Weekly Calendar Whiteboard for Wall, Dry Erase Board, Magnetic White Board | Staged installs and busy households | Magnetic dry erase surface with a weekly layout |
The full surround build: Shockwafe 9.2.4 Dolby Atmos/DTSX Surround Soundbar Sys-Dual 10" Subs*1300W
A channel count is a promise about speaker positions, not about sound quality. If your seating is against the back wall and there is no floor space beside the couch, the rear and height channels in a 9.2.4 layout have nowhere honest to live, and you end up paying for channels that fire into the back of your head or into a bookshelf. The other thing to know about a listed 1300W figure is that wattage is not loudness. What matters is distortion behavior at the volume you actually use, which is why I run a sweep at 60 percent of the dial before I trust any power number. Two subwoofers are genuinely useful here, but only if they end up in two different places in the room rather than stacked in one corner.
The big-screen centerpiece: XGIMI Horizon Pro 4K Projector, 1500 ISO Lumens, Android TV 10.0 Movie Projector with Integrated Harman Kardon Speakers, Auto Keystone Screen Adaption Home Theater Projector
Projectors live and die on two numbers that are not on the box: throw distance and room light. Before ordering anything, measure the distance from where the projector will sit to the wall, then check the listed throw ratio against the screen size you want. A listed 1500 ISO lumens is a real measurement standard, which is more than most listings offer, but it still assumes a light-controlled room. Any window with a bare blind will wash out dark scenes no matter how good the projector is. The built-in Android TV is genuinely convenient for a one-cable install, and the auto keystone is a fast way to get a watchable picture. Treat it as a starting point, though: digital correction reshapes the image, so optical alignment with the projector squared to the wall always beats heavy keystone correction.
The family-room starter bar: 160W Soundbar with Subwoofer & 2 Karaoke Mics for TV Home Theater
The microphones change how you should think about this bar. A karaoke setup is a gain-staging problem: the mic channel runs hot, the bar has to keep dialogue intelligible while a voice is competing with a music track, and feedback shows up first in whatever frequency range the room reinforces. That is the same 1 to 4 kHz presence band where dialogue lives, so a bar that scoops it out for a smoother music curve will make actors mumble. If karaoke is a real use case in your house, set the bar up in its standard mode, get dialogue right first, then add the mic gain. And put the bundled subwoofer through the same test as any other sub: move it, listen, and do not assume the corner is the answer.
The install planner: Weekly Calendar Whiteboard for Wall, Dry Erase Board, Magnetic White Board
A staged home theater build runs on return windows, delivery dates, and calibration passes, and all three of those live in a calendar. Write down what changed each time you move the sub or rerun room correction, because after four adjustments nobody remembers which one helped. A whiteboard in the same room as the gear also settles household arguments before they start: everyone can see when the living room is going to be full of cardboard and when it goes back to being a living room. It is not a substitute for a measurement log on a laptop, but it is a far better memory aid than a phone note you never reopen.
Prices and availability may change. Product images, names, and retailer links are matched to verified listings. No current price, rating, stock status, or measured result is stated here without current evidence.
Why the room decides more than the spec sheet
The single most common complaint I hear is that a new bar sounds muffled or boomy, and the single most common cause is placement. A bar sitting on the floor or tucked inside a media cabinet fires into a wooden box and loses the presence band before the sound ever reaches the couch. Get it to roughly ear height, in front of the seating, and a lot of "bad sound" disappears.
Bass is the other half of the problem. Low frequencies collect in corners and along walls, which means the subwoofer's position can change the low end more than any setting in the app. The method is boring and effective: put a 50 Hz test tone on repeat, walk the room, and then move the sub to the two or three spots where the bass sounds most even rather than loudest. A tape measure helps you record what you did.
Room correction is the last layer, not the first. It can smooth a hump and pull up a dip, but it cannot fix a bar with no headroom, and it cannot fix a room where the correction microphone was placed on a coffee table instead of at the listening position. Run it from the couch, at the height of your ears, and run a sweep before and after so you know what it actually changed. If the "after" curve looks better but dialogue still mumbles, the DSP fudged the curve rather than fixing the room.
What the listed numbers actually mean
Wattage is the most abused number in home audio. A listed 1300W or 160W figure describes what the amplifier can draw or deliver under conditions the listing rarely explains, and it says nothing about how the system behaves at 60 percent volume when the midrange starts compressing. Distortion is the number that tells you whether a bar has headroom. If you can hear the sound harden before the bar gets genuinely loud, the power figure was marketing.
Lumens have the same problem, with one useful distinction. ISO lumens is a published measurement standard, so a listed 1500 ISO lumens is a more honest starting point than an unlabeled brightness claim. It still assumes a controlled room. Screen size also eats brightness: the same projector on a 120-inch screen has less punch per square foot than on a 100-inch screen, so decide the screen size first and let the light control follow.
Channel counts are the third trap. A 9.2.4 label describes speaker positions, not magic. If the room cannot host those positions, the extra channels are processing, not sound. Likewise, karaoke microphones in a bundle tell you the manufacturer expects the bar to handle a hot mic channel, which is a different job than reproducing a movie mix quietly at night.
Here is the order I would work in, and it does not change with budget:
- Measure the room: seating distance to the screen wall, width of the screen wall, ceiling height, and how much space exists behind and beside the couch.
- Decide the screen size and type first, because throw distance and light control constrain everything downstream.
- Choose the audio layout second: a bar alone, a bar with a subwoofer, or a bar with rears and heights, based on whether those speakers have real positions.
- Place the subwoofer with a test tone before you buy anything else, and record where it ended up.
- Run room correction from the listening position, sweep before and after, and keep the setting that measures better rather than the one that sounds louder.
Practical guidance for a staged build
- Put the bar at ear height and in front of the seating. Cabinets and floor placement cost you dialogue before any setting does.
- Test the subwoofer in more than one corner with a 50 Hz tone and a tape measure. Corners add bass, and more bass is not the same as even bass.
- Check throw distance against the listed throw ratio before ordering a projector, and measure the wall you plan to use, not the wall you wish you had.
- Use optical alignment first and treat auto keystone as a convenience. Heavy digital correction reshapes the image to fit the wall.
- Write every change down, on a laptop log or on a whiteboard, so the fourth adjustment does not undo the first one.
Which option should you choose?
Choose the Shockwafe 9.2.4 Dolby Atmos/DTSX Surround Soundbar Sys-Dual 10" Subs*1300W when you have space behind and beside the seating for real surround and height speakers and you want an Atmos and DTS:X layout in a single package. Choose the XGIMI Horizon Pro 4K Projector, 1500 ISO Lumens, Android TV 10.0 Movie Projector with Integrated Harman Kardon Speakers, Auto Keystone Screen Adaption Home Theater Projector when the room can be darkened and the wall is wide enough for a big screen, especially if you want streaming built into the projector. Choose the 160W Soundbar with Subwoofer & 2 Karaoke Mics for TV Home Theater when the room is a family space first, the subwoofer and microphones in the box match how the household actually uses the TV, and you want one purchase to cover both. Choose the Weekly Calendar Whiteboard for Wall, Dry Erase Board, Magnetic White Board when the build is going to happen over several weeks and you want the schedule and the adjustment log somewhere everyone can see it.
The caveat is the same for all four: a listing describes a product, not a room. Nothing here tells you how any of these will measure in your house, and no channel count, wattage figure, or lumen rating can substitute for a sweep from your own couch. If you cannot measure, at least move things and listen carefully, one change at a time.
The bottom line
A home theater that gets built in stages only works if the plan is written down and the room is measured before the boxes arrive. The projector sets your screen size and your light-control requirements, the soundbar and its subwoofer set your dialogue and bass, and the calendar on the wall keeps the whole thing from drifting. Buy for the room you have, place the subwoofer with a test tone, run correction from the couch, and let the measurements, not the stickers on the box, tell you when you are done.